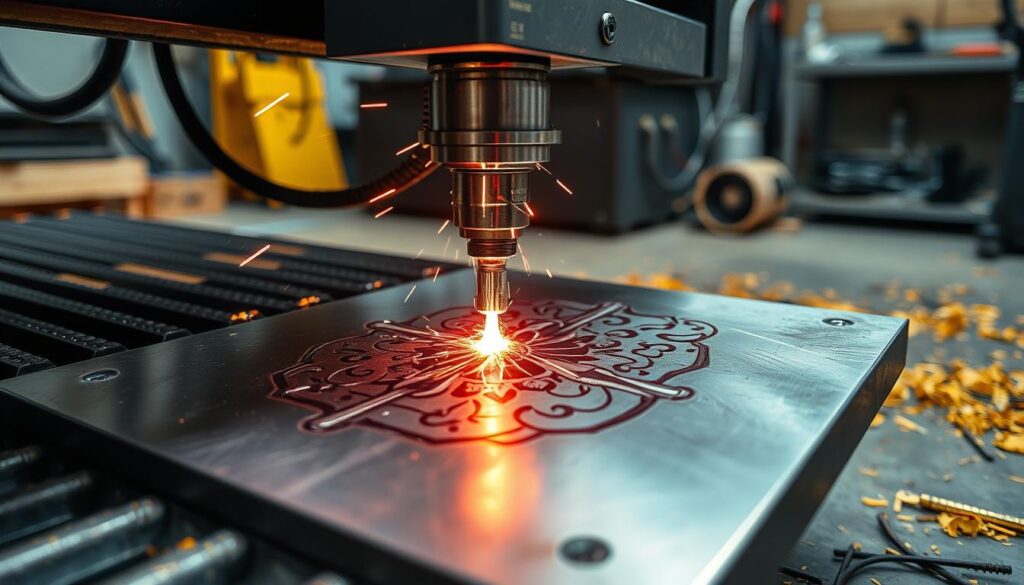
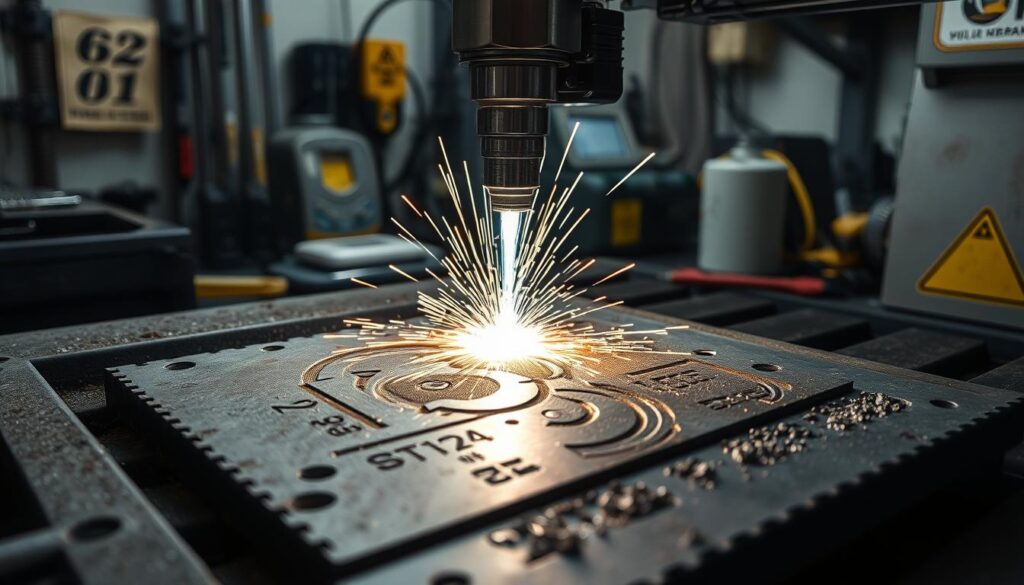
Laser engraving on iron needs the right settings for the best results. Start with a 300dpi resolution and use color-mapping for accurate engraving. Begin by running the laser at full power and adjust the speed to find the perfect balance.
Before engraving, test the settings on a sample material. This step helps fine-tune the settings and check the engraving quality. Spray the iron with marking spray, center the laser, and then clean the area with a “magic eraser” sponge. Slower speeds usually make the marks more durable and high-quality.
Adjusting laser settings can make iron engraving precise and lasting. Both manufacturers and hobbyists can use these methods for custom designs, unique identifications, or functional markings on iron items.
Understanding Laser Engraving Fundamentals for Metal Surfaces
Laser engraving is key for marking metal surfaces. It offers control and makes marks that last. Knowing the basics and the right laser systems is important for great results.
Basic Parameters and Their Impact
Power, speed, and frequency are key for laser engraving on metal. More power means deeper marks but costs more and takes longer. Finding the right balance is key.
Types of Laser Systems for Metal Marking
For metal engraving, fiber lasers and MOPA lasers are top choices. Fiber lasers are fast, precise, and work well on metals like aluminum and steel. CO2 lasers are not as good for engraving but work for removing coatings and bonding.
Material Preparation Requirements
Getting the metal ready is vital for quality laser marks. Clean the surface and use a marking spray if needed. The prep method depends on the metal type to get the best results.
| Laser System | Suitability for Metal Engraving | Typical Applications |
|---|---|---|
| Fiber Laser | Highly Suitable | Aluminum, steel, stainless steel, copper |
| CO2 Laser | Less Suitable | Coating removal, metal bonding |
| Diode Laser | Moderately Suitable | Stainless steel, some coated metals |

Laser Engraving on Iron: Optimal Power and Speed Settings
To get great laser engravings on iron, you need to find the right balance between power and speed. Understanding how these two work together is key to making customized iron marking successful.
For permanent marking techniques on iron, you want high laser power and slower speeds. Tests show that speeds between 5 to 20 mm/s make marks look vibrant and clear. It’s better to go slower to get marks that stick well and last long.
The laser power should stay at its highest setting while you adjust the speed. For metals like brass-plated steel, a very high LPI setting, like 1335, works best. But, a lower 675 LPI might be enough for quicker jobs.
| Material | Recommended Speed (mm/s) | Recommended Power (%) | Recommended LPI |
|---|---|---|---|
| Iron | 5 – 20 | 100 | 675 – 1335 |
| Brass-Plated Steel | 5 – 20 | 100 | 1335 |
By tweaking the laser speed and keeping power high, you can make durable marking solutions on iron. This way, your customized iron marking projects will last a long time.

Essential Equipment and Material Preparation
To get great results with laser engraving on iron, you need the right tools and to prepare the surface well. You’ll need a laser engraving system, a marking spray, and a “magic eraser” sponge to check your work. Cleaning and treating the surface is key to making sure the laser can etch the metal well.
Surface Cleaning and Treatment
First, clean the iron surface to get rid of dirt, grease, or any other residue. Use a degreasing agent and the “magic eraser” sponge for this. After cleaning, apply a laser-marking spray to make the engraved design stand out more.
Required Tools and Accessories
- Laser engraving system (fiber, CO2, or diode laser)
- Laser-marking spray
- “Magic eraser” sponge for surface evaluation
- Test-marking grid for setting focus height
- Software for color mapping and design layout
Safety Considerations and Precautions
When using a laser engraving system on iron, safety is top priority. Make sure you have good ventilation to handle any fumes or particles. Also, never look directly at the laser beam, as it can seriously harm your eyes.
It’s important to set the laser’s focus height correctly, usually about 0.02 inches (0.5 mm) above the metal. Use a test-marking grid to find the right spot for the best results.
Advanced Techniques for Precision and Quality
To get precise engravings on iron, you need to know about laser settings and material properties. Using advanced methods can make your work stand out by improving its quality and detail.
For detailed engravings, vector files work better than raster designs. Adjusting the lines per inch (LPI) helps get sharper, clearer patterns.
It’s also key to find the right power-to-speed ratio for precise engraving. Trying different settings can help avoid material damage while keeping the engraving clear and deep.
For small designs, like those 1.5 inches in size, widening the blank areas can make the design clearer. This helps a lot with small details.
For iron with a coating, use lower power and higher speed. This method keeps the surface safe during corrosion-resistant marking and still gets the desired look.
Trying new things, like using very small text in flowery fonts, can help find the best settings for detailed work. It lets you explore the limits of what’s possible with precision engraving.
| Laser Type | Key Advantages for Metal Engraving |
|---|---|
| Fiber Lasers | High electro-optical conversion efficiency, precision, speed, and long service life |
| CO2 Lasers | Suitable for engraving metals by applying a marking compound |
| Nd:YAG and Nd:YVO4 Lasers | Highly effective for engraving and marking metals with a very fine spot size |
| UV Lasers | Advantageous for precision engraving with minimal thermal effects on sensitive metals |
| Green Lasers | Suitable for engraving highly reflective metals like copper, gold, and silver |
Conclusion
Laser engraving on iron is a strong and lasting way to mark things. It’s great for many industries. To get the best results, you need the right tools, to adjust the laser settings well, and to prepare the iron right.
Using the full laser power and adjusting the speed helps get the best marks. High LPI settings are also key for detailed work. Testing and checking the quality often is important to get the best results.
To do laser engraving on iron well, you need to know a lot about it. You also need to pay close attention to details. By improving your skills, you can make laser engraving a reliable way to mark iron for your business.

Leave a Reply